Go Back
+ servings
Fun Halloween Witch Hat Cookies

Fun Halloween Witch Hat Cookies That Delight Kids and Adults

These Fun Halloween Witch Hat Cookies are a delightful chocolate treat perfect for Halloween gatherings, loved by kids and adults alike.
Prep Time 20 minutes
Cook Time 18 minutes
Cooling Time 10 minutes
Total Time 48 minutes
Servings: 24 cookies
Course: Desserts
Cuisine: American
Calories: 120

Ingredients
  

Cookie Base
  • 1 box Favorite Cake Mix Substitution: For a personal touch, use a homemade chocolate cake recipe.
  • 1 pkg Store Bought Chocolate Cookies Substitution: Opt for homemade chocolate cookies to elevate the experience.
Witch Hats
  • 12 Sugar Cones No substitute available; they provide necessary structure.
  • 1 can Black Color Mist Food Coloring Spray Substitution: Black icing can give a similar aesthetic without the spray.
Decoration
  • 1 tube Creamy White Decorator Icing Substitution: Use royal icing for a firmer finish.
  • 1 bottle Lemon Yellow Icing Color Consider natural dyes for a healthier option.
  • 1 each Rose Icing Color Feel free to swap with other food colorings to suit your theme.
  • 1 each Violet Icing Color Feel free to swap with other food colorings to suit your theme.
  • 1 each Golden Yellow Icing Color Feel free to swap with other food colorings to suit your theme.
  • 1 each Orange Icing Color Feel free to swap with other food colorings to suit your theme.

Equipment

  • Mixing bowl
  • Piping bags
  • Oven

Method
 

Preparation
  1. Preheat your oven to 350°F (175°C). In a mixing bowl, combine your favorite cake mix with the store-bought chocolate cookies until well blended. Using a spoon, fill each sugar cone with the batter, leaving some space at the top. Bake the filled cones for about 15-18 minutes, or until a toothpick inserted comes out clean. Let them cool completely before decorating.
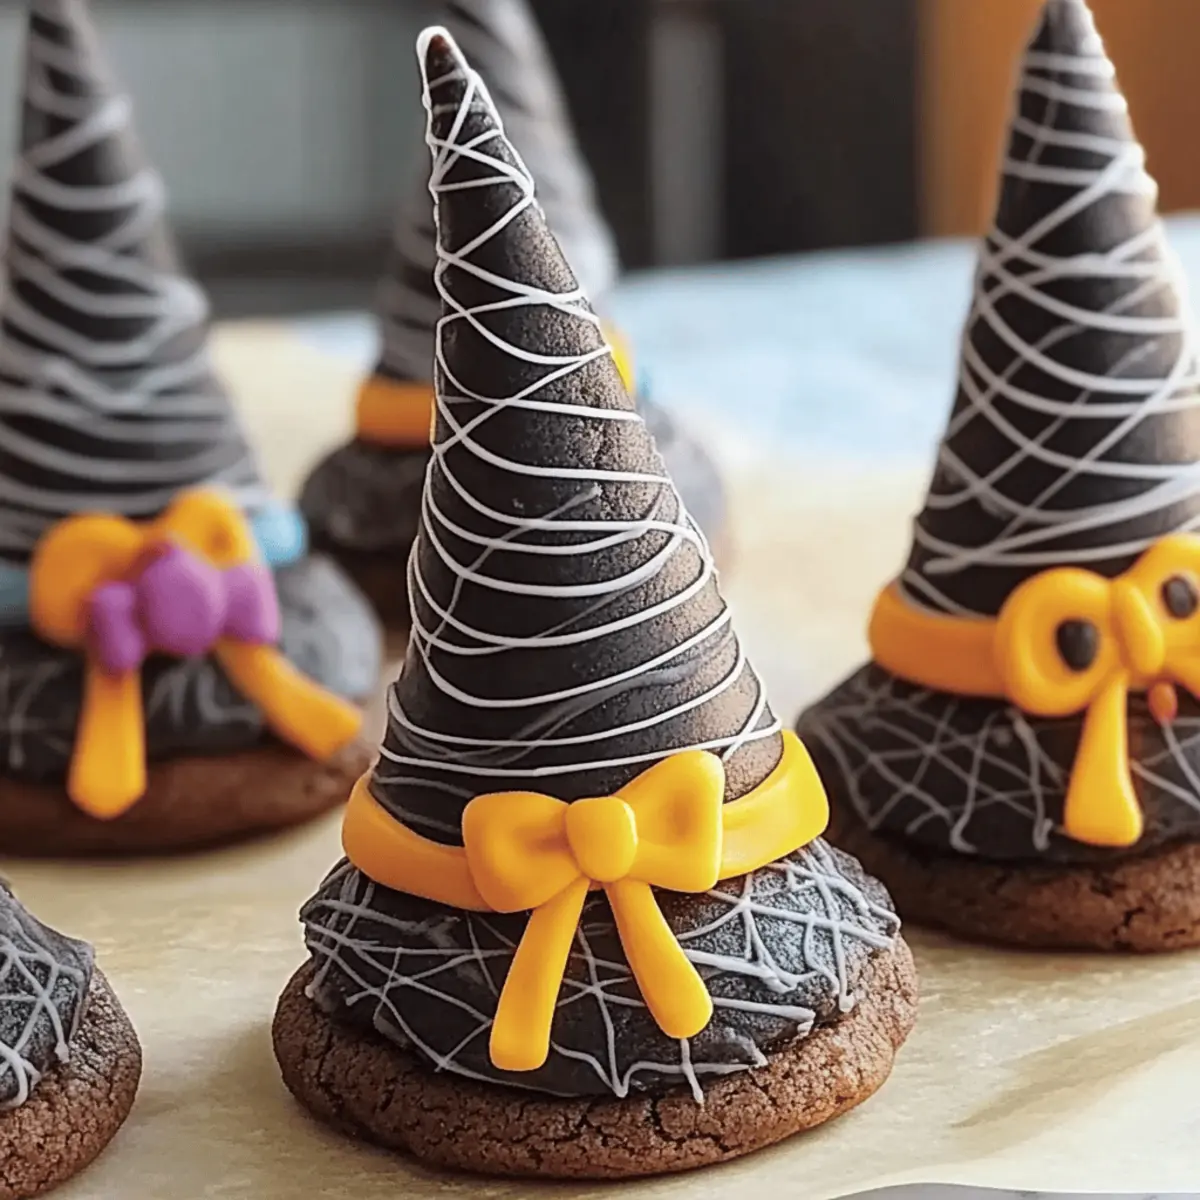
  2. Once your cookies have cooled, carefully trim any excess cake at the top of each cone to ensure a clean edge. Next, spray each cone with black color mist food coloring to achieve that spooky look and let them dry completely.
  3. Divide the creamy white decorator icing into separate bowls. In one bowl, add a few drops of lemon yellow icing color, and in the others, mix in rose, violet, golden yellow, and orange colors as desired. Use piping bags to fill each bowl with icing.
  4. Pipe a generous amount of orange icing onto the top of each cookie to serve as an adhesive. Carefully place a sugar cone atop each cookie, pressing gently to secure it in place. Pipe additional icing around the base of the cone for a smooth finish.
  5. Allow the initial decorations to set for about 10 minutes. Once firm, pipe a yellow buckle around the band of each cone for that finishing touch. Let them dry completely before serving.

Nutrition

Serving: 1cookieCalories: 120kcalCarbohydrates: 15gProtein: 1gFat: 6gSaturated Fat: 3gPolyunsaturated Fat: 1gMonounsaturated Fat: 1gCholesterol: 10mgSodium: 70mgPotassium: 20mgSugar: 10gVitamin A: 100IUCalcium: 10mgIron: 0.5mg

Notes

Decorate cookies the same day you bake them for vibrant colors and a fresh look. Store cookies in an airtight container at room temperature for up to 5 days.

Tried this recipe?

Let us know how it was!