Go Back
+ servings
Quick Cheesy Eggs with Chili Garlic Butter

Savor Quick Cheesy Eggs with Chili Garlic Butter Bliss

Enjoy Quick Cheesy Eggs with Chili Garlic Butter, a delightful meal that combines creamy, cheesy goodness with a hint of spice.
Prep Time 10 minutes
Cook Time 20 minutes
Total Time 30 minutes
Servings: 2 servings
Course: Breakfast
Cuisine: American
Calories: 350

Ingredients
  

For the Eggs
  • 4 large Hard-Boiled Eggs Provide a creamy base full of protein.
  • Sea Salt To taste.
  • Black Pepper Adds mild heat.
For the Chili Butter
  • 4 tablespoons Salted Butter Creates a rich base for the sauce.
  • 2 tablespoons Extra Virgin Olive Oil Adds depth.
  • 2 cloves Garlic Freshly chopped.
  • 1 teaspoon Chili Flakes/Aleppo Pepper Adjust to your heat preference.
  • 1 teaspoon Paprika Contributes mild sweetness.
For Assembly
  • 1 cup Cheddar Cheese Finely shredded; swap with feta for tang.
  • 2 slices Sourdough or Whole Grain Bread Toasted.
  • 1 medium Avocado Lightly mashed.
  • Fresh Herbs Optional for garnish.

Equipment

  • Saucepan
  • Mixing bowl
  • Pot
  • Toaster

Method
 

Step-by-Step Instructions
  1. In a saucepan, melt the salted butter and olive oil over medium heat. Add chopped garlic, chili flakes, and paprika. Cook until fragrant, about 1-2 minutes. Remove from heat.
  2. Boil the eggs in a pot covered with water for 5-10 minutes. Once done, transfer to an ice water bath to cool.
  3. Peel the cooled eggs and slice into quarters. Combine with cheddar cheese and season with salt and pepper.
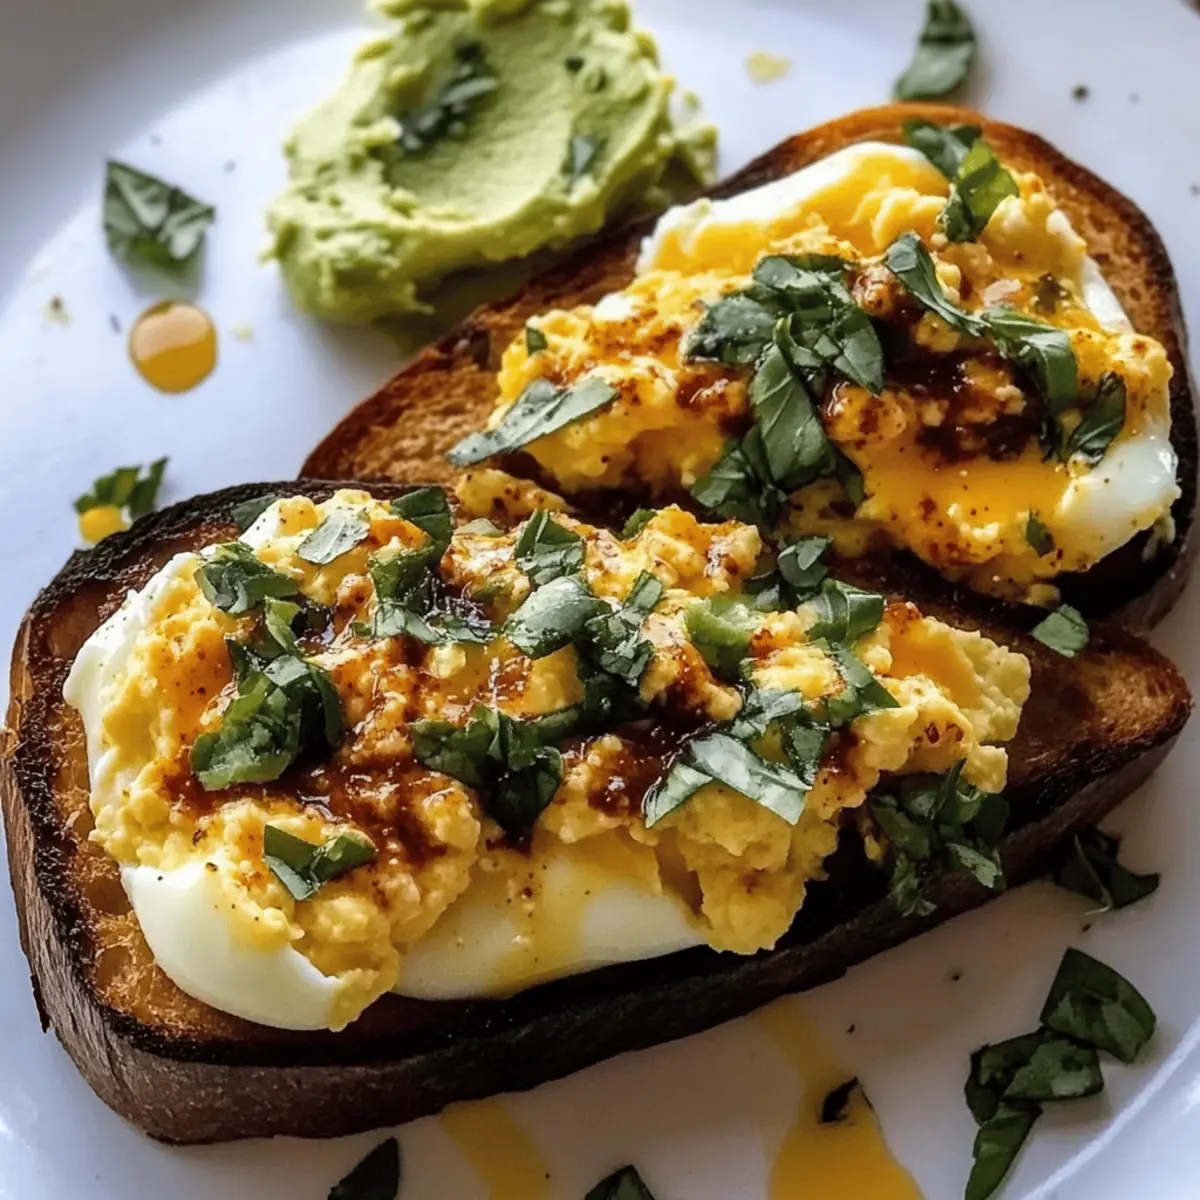
  4. Toast the bread, spread avocado on each slice, top with cheesy egg mixture, and drizzle with chili butter.

Nutrition

Serving: 1servingCalories: 350kcalCarbohydrates: 30gProtein: 20gFat: 24gSaturated Fat: 12gPolyunsaturated Fat: 3gMonounsaturated Fat: 7gCholesterol: 400mgSodium: 800mgPotassium: 350mgFiber: 6gSugar: 2gVitamin A: 500IUVitamin C: 5mgCalcium: 250mgIron: 2mg

Notes

Using warm eggs helps achieve a melt-in-your-mouth texture. Store leftover eggs in an airtight container for up to 3 days.

Tried this recipe?

Let us know how it was!