Ingredients
Equipment
Method
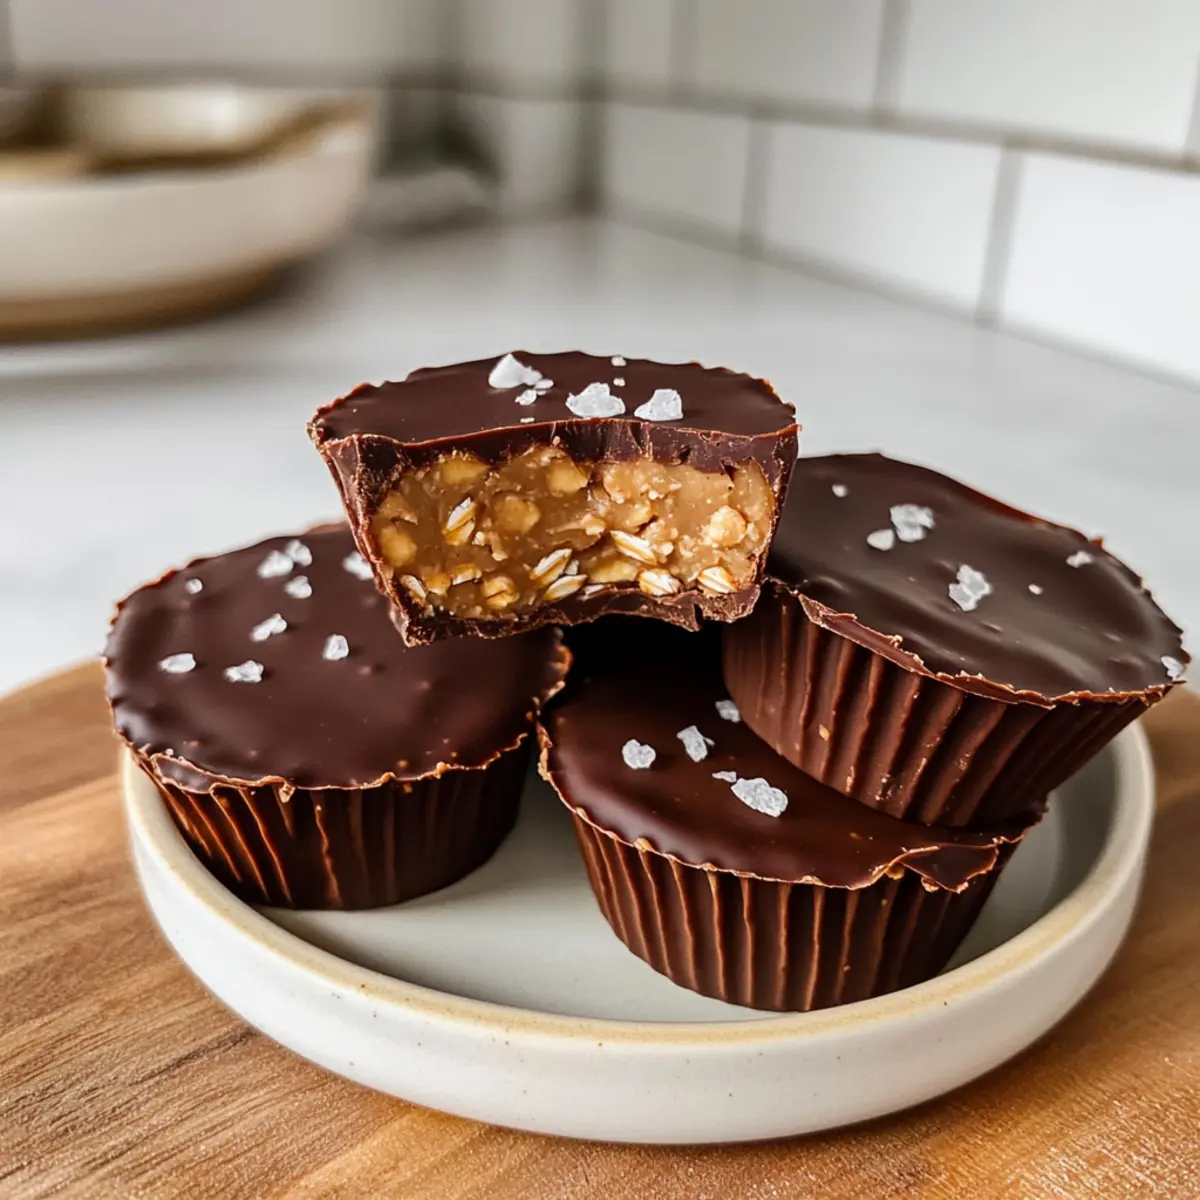
Step-by-Step Instructions for Peanut Butter Oat Cups
- In a medium mixing bowl, combine 1 cup of creamy peanut butter and 1/4 cup of maple syrup. Mix until smooth and creamy.
- Add 1 1/2 cups of old-fashioned rolled oats to the mixture and stir until well combined.
- Scoop approximately 2 tablespoons of the oat mixture into each mold and press down firmly to create a compact layer.
- Top each cup with a dollop of peanut butter or mix in protein powder to the remaining mixture.
- Transfer the molds to the freezer and let them set for 20 minutes.
- In a microwave-safe bowl, combine 1/2 cup of chocolate chips with a drizzle of neutral oil and heat until melted.
- Drizzle the melted chocolate over each cup, covering generously.
- Place the cups back in the freezer for another 20 minutes to harden the chocolate.
- Gently remove the cups from the molds and sprinkle flaky sea salt on top if desired.
Nutrition
Notes
Store in an airtight container for best freshness; refrigerate for a week or freeze for up to three months.